¶ User Menu
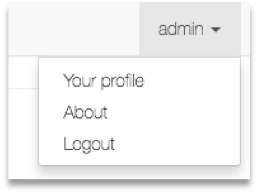
The username that was used to log in will be located in the top right-hand corner of the interface. In this case, we are logged in as the default user admin. Clicking on the username will reveal a drop-down menu with user and admin options.
¶ Your User Profile
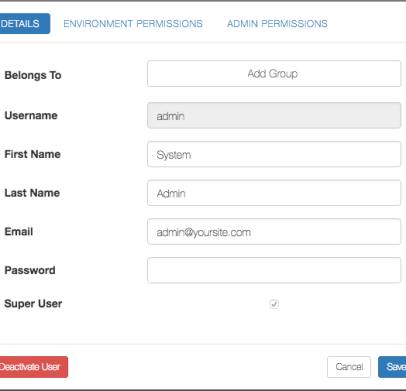
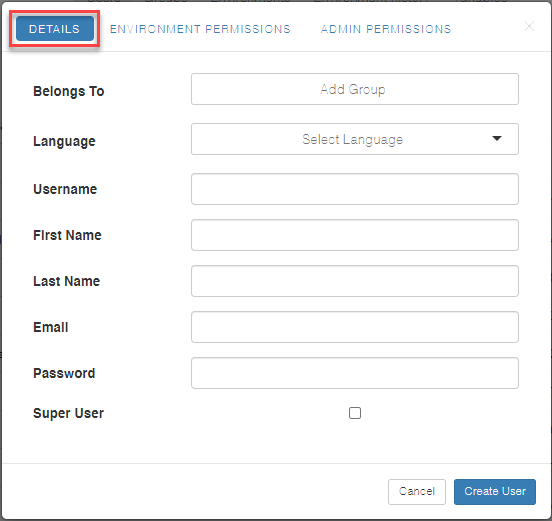
Clicking “Your profile” opens your user details, where you can update profile information and access environment and admin permissions through their respective navigation buttons; any fields that are not locked can be edited and saved.
When setting a password, it must be at least eight characters long, cannot be a commonly used or easily guessable password, and cannot consist of numbers alone; for stronger security, use a mix of uppercase and lowercase letters, numbers, and special characters.
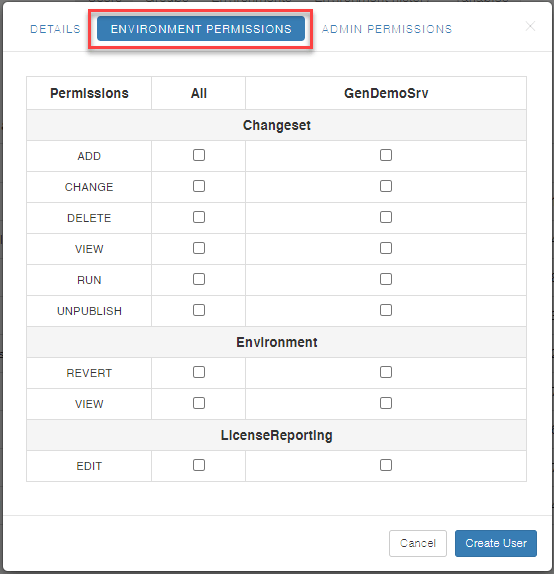
Permissions may be applied globally across all environments or limited to specific environments by selecting only the ones required.
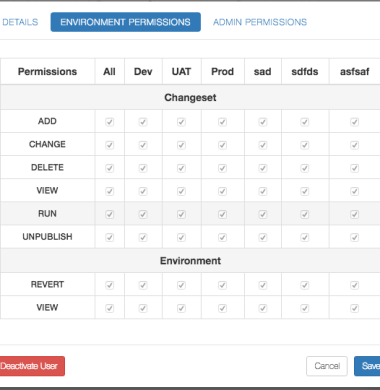
¶ Changeset
- Add: The ability to add a new Changeset
- Change: The ability to modify the Changeset and its content
- Delete: the ability to delete the Changeset
- View: The ability to view a Changeset. Needed for basic access
- Run: The ability to run Changesets
- Unpublish: The ability to remove the Published flag from a changeset
¶ Environment
- Revert: The ability to revert changes
- View: The ability to view an environment, its objects and changes. Needed for basic access
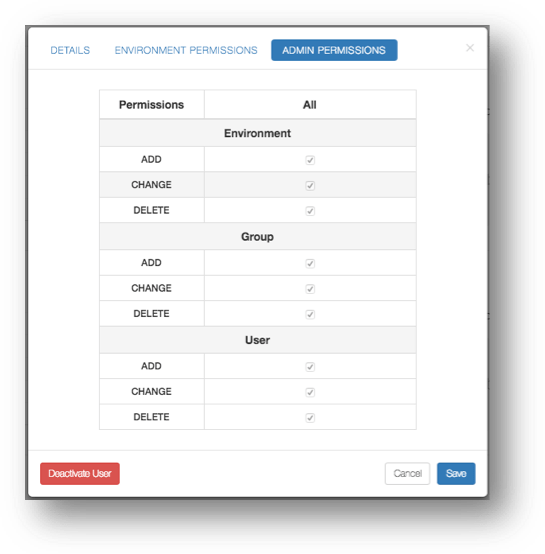
¶ Environment
- Add: The ability to create new Environments
- Change: The ability to modify the Environment settings
- Delete: The ability to delete Environments which deletes all associated data
¶ Group / Users
- Add: The ability to create new objects
- Change: The ability to modify objects
- Delete: The ability to delete objects
¶ Users
Similar to clicking “Your profile” to view your own user details, you can view the details of the selected user in the Edit mode by clicking any of the users on the page.
Note: You can view the other user details only if the permissions are given.
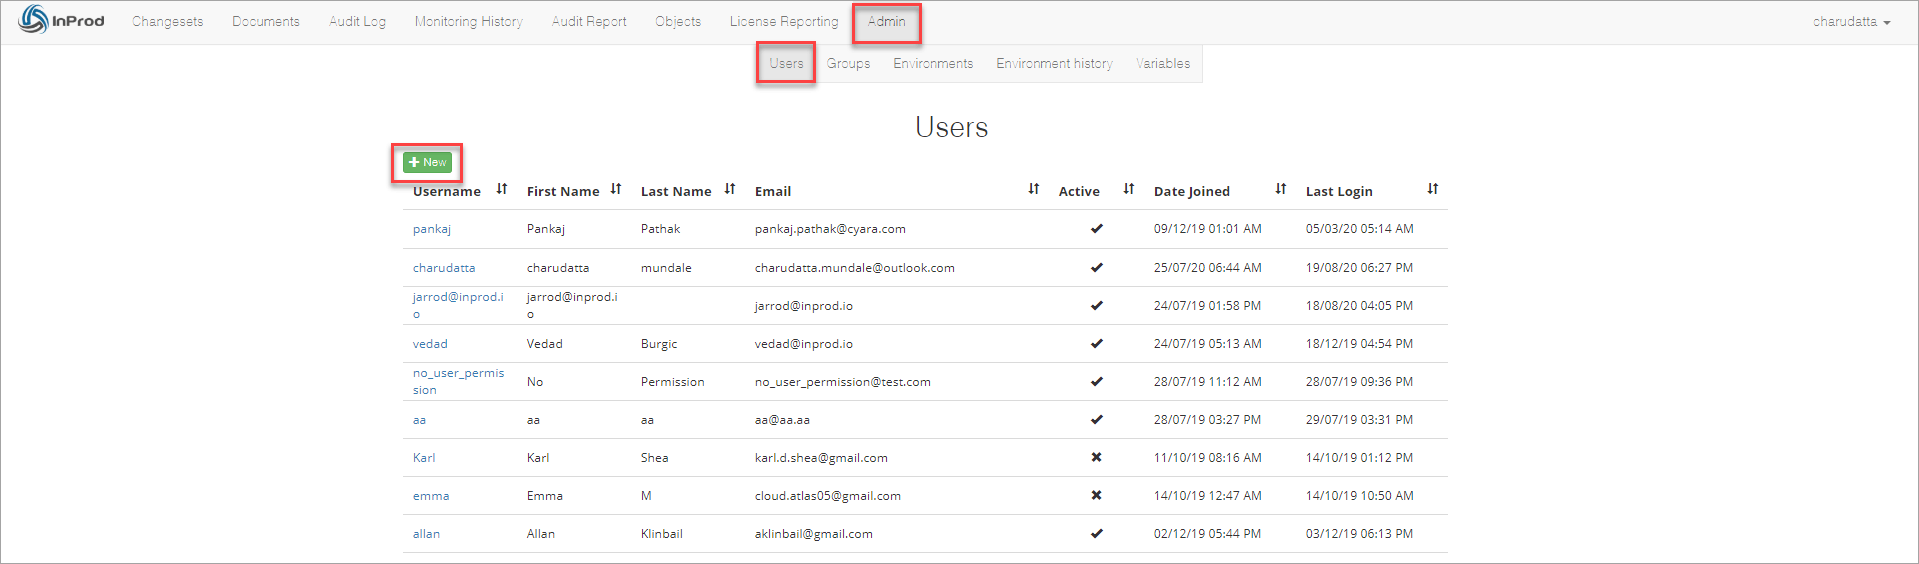
Users Page
Note: InProd does not support deleting a user because it might impact the audit history for any activities performed by the user. You can only deactivate the user. Only a Super User can grant another user this level of permission.
To create a new user, click the New button as indicated in the above figure.
On the Details tab, enter appropriate details of the user.
Click the Evnironment Permissions tab and select the check boxes for the environment permissions that you want to give to the user.
Click the Admin Permissions tab and select the check boxes for the admin permissions that you want to assign to the user.
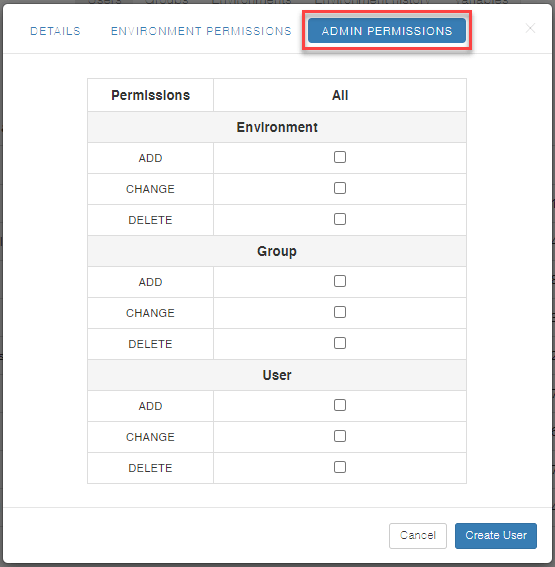
After filling all necessary information, click the Create User button to finalize the creation of a new user.
¶ Groups
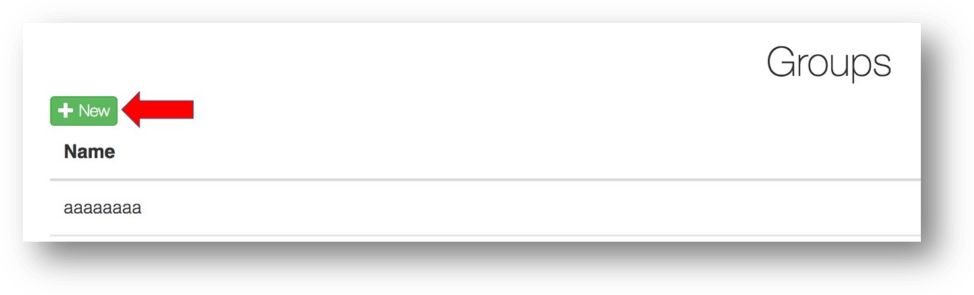
The groups page displays all the available groups in the system. Groups are predefined “Environment” and “Admin” level permissions. Users can be associated to one or more groups to have these specific predefined permissions applied.
To create a new group, click on the “New” button as indicated by the red arrow. This will open up a popup overlay.
Enter an appropriate name in the “Group Name” field and adjust the permissions by clicking on the “Environment Permissions” and “Admin Permissions” tabs similar to viewing/creating a new user.
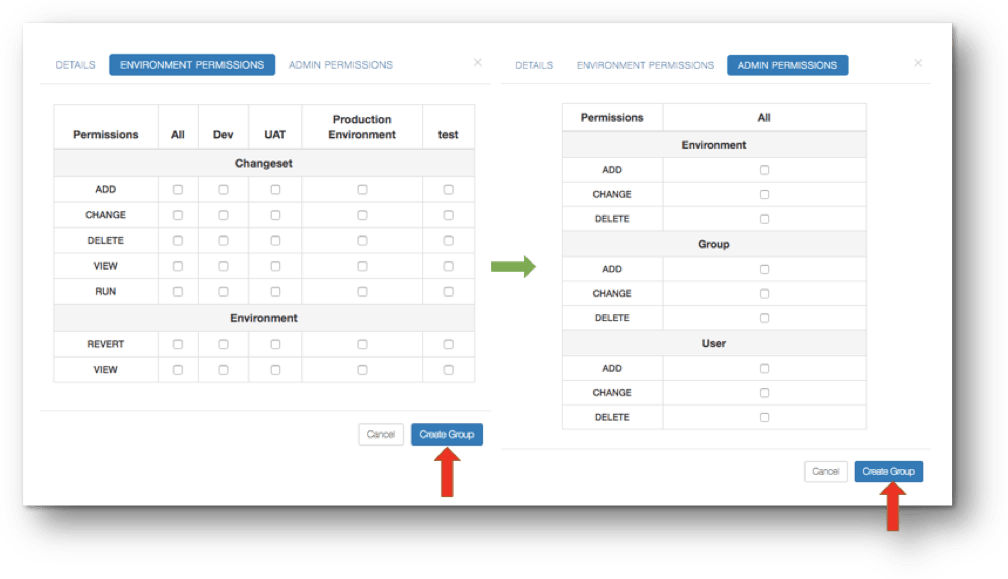
Check the desired permission boxes that you want your group to have for both “Environment” and “Admin” level permissions. Once permissions are allocated, click “Create Group” on either tab.